How to extend the life of CNC Router Bit?
CNCLunyee
Why Bit Lifespan Matters So Much
Before diving into how to extend bit life, let's understand why it's so important:
- Reduced Operating Costs: Bits that wear out quickly mean you need frequent replacements, undoubtedly increasing your consumable expenses.
- Improved Engraving Quality: Sharp bits deliver cleaner, more precise cuts, ensuring the quality of your work. Worn bits can lead to burrs, incomplete cuts, and other issues.
- Increased Work Efficiency: Frequent bit changes interrupt your workflow and waste valuable time.
Five Key Secrets to Extending CNC Router Bit Lifespan
1. Choose the Right Bit and Material
This might seem obvious, but it's often the most overlooked point.
- Material and Bit Matching: Different materials require different bit types. For example, engraving wood typically uses HSS (High-Speed Steel) or carbide bits, while engraving metal requires harder, more wear-resistant coated bits. Using an unmatched bit to process material is like trying to cut fabric with a saw—it's not only ineffective but will quickly damage the bit.
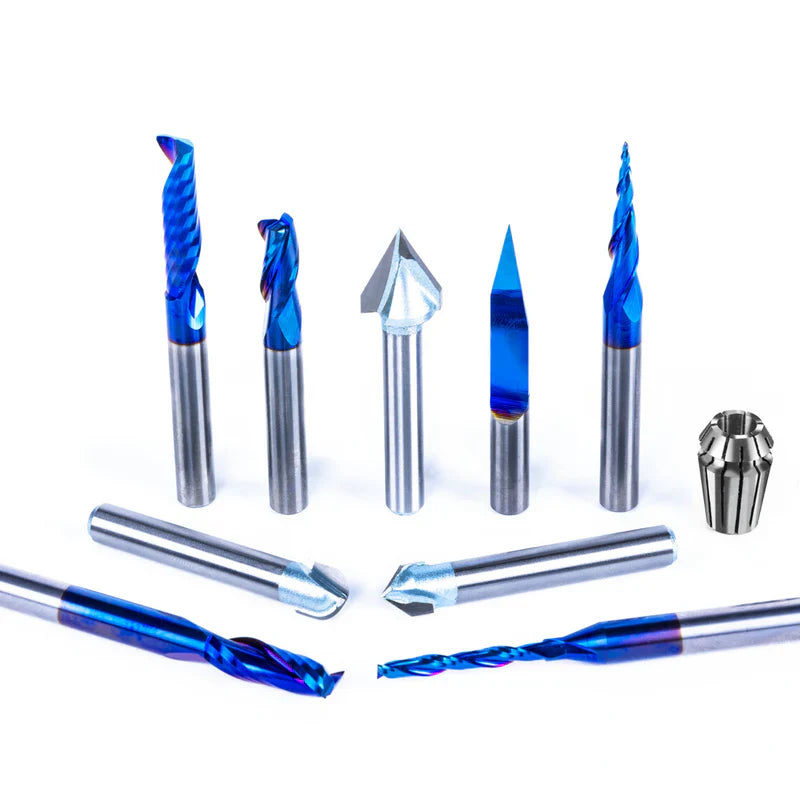
- Bit Geometry: V-bits, flat-end mills, ball-nose bits, etc., each have specific uses. Choosing the right bit geometry for a particular engraving task can reduce unnecessary stress.
- Bit Quality: Invest in high-quality carbide bits. While the initial cost might be higher, their durability and performance usually far surpass cheaper alternatives, proving more economical in the long run.
2. Precise Cutting Parameter Settings
This is the core of extending bit life! There's a delicate balance between Feed Rate, Spindle Speed, and Depth of Cut.
-
Balancing Feed Rate and Spindle Speed:
- Feed rate too fast, spindle speed too low: The bit might "gouge" the material, creating excessive cutting forces that can cause the bit to chip or break.
- Feed rate too slow, spindle speed too high: The bit will "rub" in the material, generating too much heat, leading to tip burning, dulling, or even discoloration.
- The Golden Rule: Ensure each flute of the bit is taking an effective cut from the material. Ideal cutting should produce even chips, not dust or burnt marks.
- Depth of Cut: Avoid taking excessively deep cuts in a single pass. Especially for smaller bits or harder materials, using multiple shallow passes can effectively distribute the force on the bit, reducing wear.
- Follow Manufacturer Recommendations: Many bit manufacturers provide recommended cutting parameters, which are a great starting point for beginners. As you gain experience, you can fine-tune these based on your specific situation.
3. Effective Chip Evacuation and Cooling
Heat and debris generated during cutting are the "invisible killers" of your bits.
- Chip Evacuation: Ensure your workspace has a good chip evacuation system, like a dust collector or air blast. Accumulated chips not only hinder cutting but also increase friction between the bit and material, leading to overheating.
- Cooling: For machining metals or harder materials, using cutting fluid or air cooling can significantly reduce bit temperature and lessen thermal wear. Even for wood engraving, continuous air blowing helps clear chips and lowers local temperatures.
4. Keep Bits Clean and Stored Properly
Meticulous daily maintenance is crucial for bit longevity.
- Prompt Cleaning: After each use, always remove residue like resin, glue, or metal chips from the bit. These residues can affect the bit's cutting performance and potentially lead to corrosion. You can use specialized cleaners or alcohol for cleaning.
- Proper Storage: Store your bits in individual protective cases to prevent tips from colliding with each other or being exposed to humid environments. Humidity can cause bits to rust, while collisions can damage the tips. Many bit sets come with dedicated storage cases.
5. Correct Bit Installation and Z-axis Zeroing
Small details often determine success or failure.
- Bit Installation: Ensure the bit is installed deep enough and securely in the collet. If installed too shallow, it might wobble or eject at high speeds, not only damaging the bit but also posing a safety hazard.
- Z-axis Zeroing (Work Zero Setting): Precise Z-axis zeroing is critically important. If the Z-axis is set too low, the bit will plunge into the material at an excessive depth, overloading the bit; if set too high, it might not cut effectively. Use a Z-probe or the paper calibration method to ensure accuracy with each zeroing.